Table of Contents
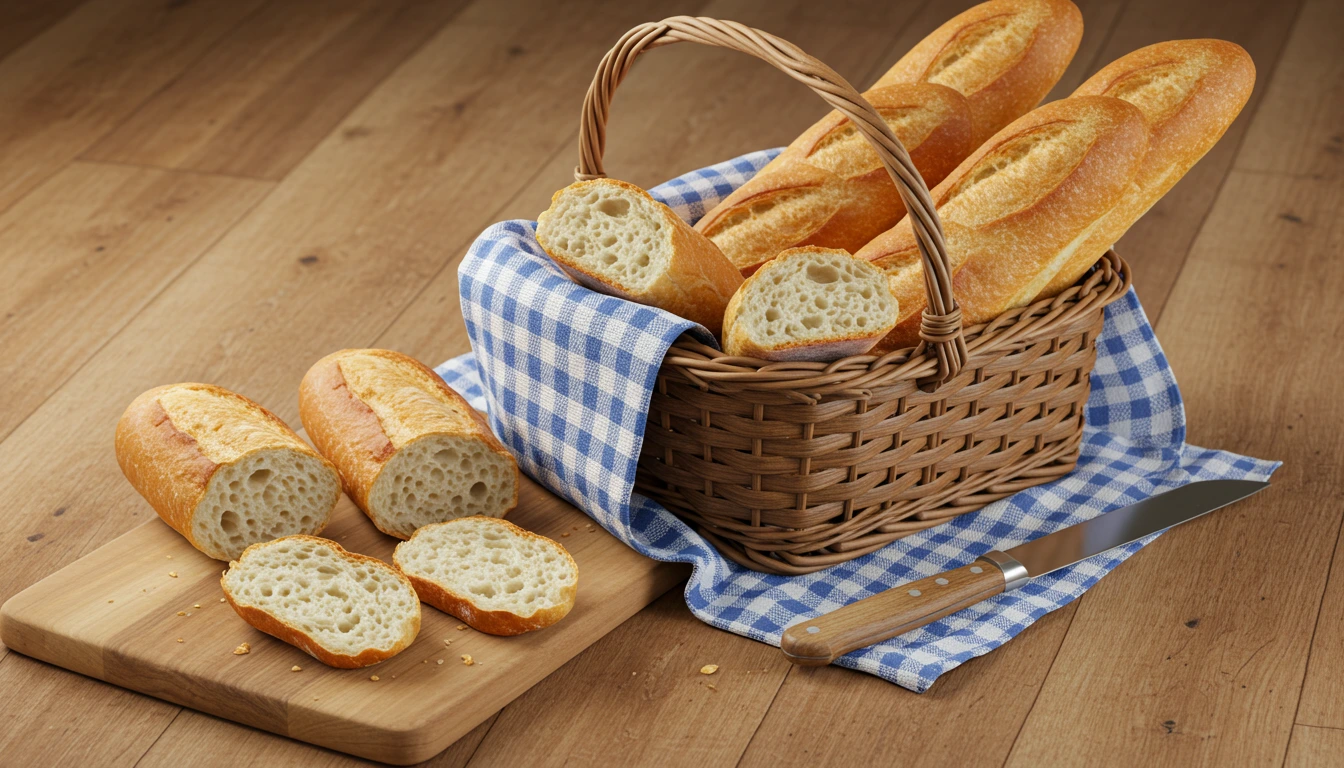
There’s something incredibly rewarding about baking your own bread, especially when it’s a classic French loaf. The scent of freshly baked bread wafting through your kitchen is enough to make anyone’s mouth water. If you’ve ever dreamed of mastering the art of French bread , this recipe is the perfect place to start. Whether you’re an experienced baker or a beginner, this simple, step-by-step guide will help you create that crispy, golden crust and soft, airy interior every time. From enjoying it alongside a comforting soup to crafting the perfect sandwich, French bread is endlessly versatile. Let’s dive into the six easy steps that will have you baking like a pro in no time!
Why You’ll Love This Classic French Bread Recipe
Baking your own French bread isn’t just about following a recipe—it’s about enjoying the process and reaping the rewards of a delicious, homemade loaf. Here’s why you’ll love making this classic French bread recipe:
- Fresh, Warm Bread Anytime
There’s nothing quite like the satisfaction of pulling a freshly baked loaf from the oven. The aroma that fills your kitchen is enough to make your mouth water, and that warm, soft interior paired with a golden, crispy crust is a treat for the senses. Plus, homemade bread means you can enjoy it right out of the oven, any time you want. - Simple Ingredients, Big Flavor
With just a few basic ingredients—flour, yeast, water, and salt—you can create something incredible. No need for fancy additives or preservatives; the simple combination of these pantry staples is what makes French bread so flavorful. - Perfect for Every Meal
Whether you’re enjoying a warm slice alongside a bowl of soup, using it to make a crispy sandwich, or simply savoring it with a little butter, French bread is incredibly versatile. It complements any meal and can be the star of the show or just a delicious sidekick. - Customize to Your Taste
Once you get the hang of this French bread recipe, you can easily tweak it to fit your preferences. Want a slightly tangy flavor? Add a bit of sourdough starter. Craving a chewier texture? Try using bread flour instead of all-purpose. The possibilities are endless, making this recipe not only beginner-friendly but also adaptable as you become more comfortable with baking. - A Fun and Relaxing Baking Experience
There’s something therapeutic about the act of kneading dough and watching it rise. With each step, you’ll feel more connected to the process and more confident in your baking skills. Plus, baking bread can be a fun activity to share with friends or family—imagine bonding over a fresh loaf, a few laughs, and maybe a glass of wine.
Baking French bread from scratch is a fulfilling experience that brings joy, delicious results, and a sense of accomplishment. Ready to get started? Let’s move on to the ingredients you’ll need for this simple, satisfying recipe!
Essential Ingredients for Perfect French Bread
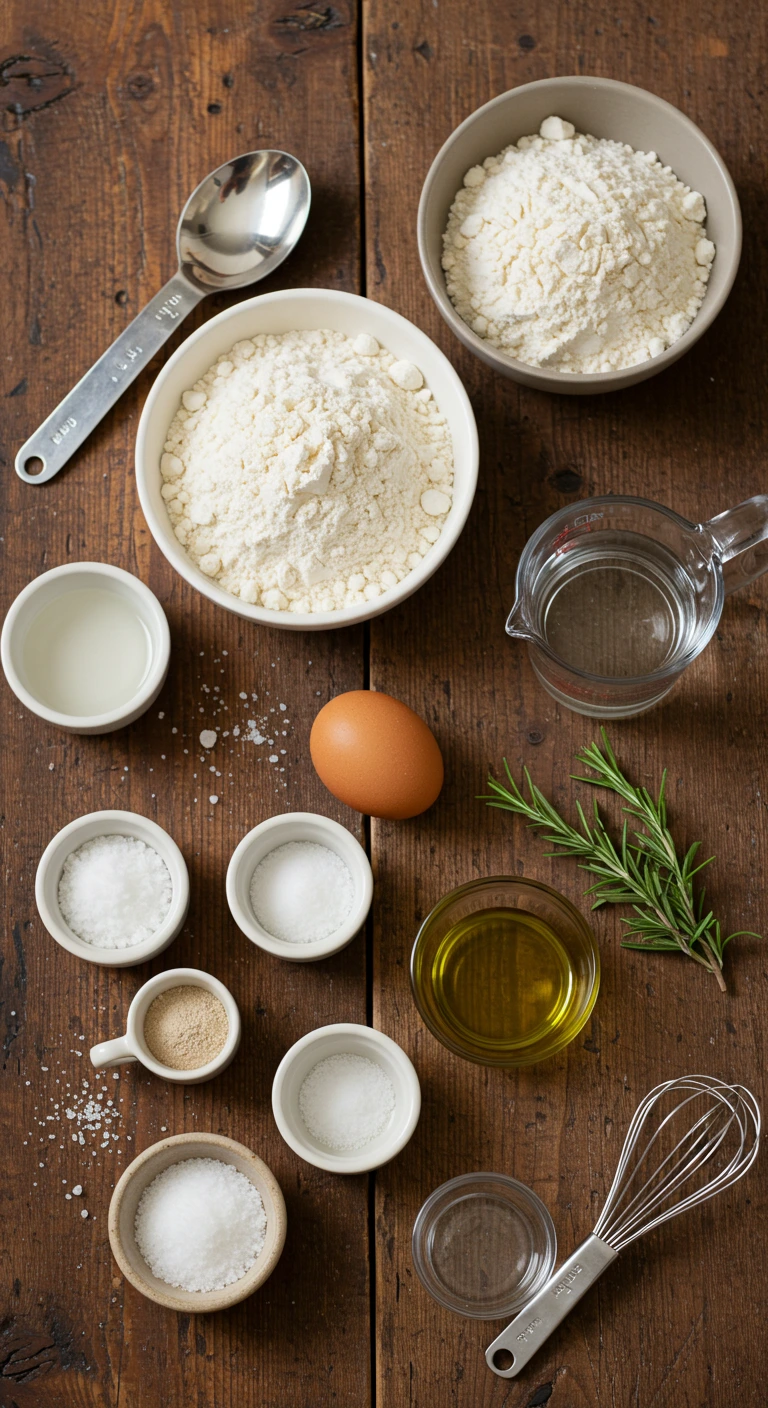
Before we jump into the baking process, let’s make sure you have everything you need. This French bread recipe is simple and straightforward, with ingredients you likely already have in your kitchen. Here’s what you’ll need:
- 3 cups all-purpose flour
You can use regular all-purpose flour for a soft and airy loaf, but if you prefer a chewier texture, swap in bread flour. Bread flour has a higher protein content, giving the bread more structure and chew. Either way, your loaf will be delicious! - 1 ½ teaspoons salt
Salt is essential for flavor—it enhances the natural taste of the bread and balances the yeast. Don’t skip this ingredient! - 1 packet active dry yeast (or 2 ¼ teaspoons)
Yeast is the star of the show, creating that airy rise we all love in French bread. Make sure your yeast is fresh and active. If you’re unsure, check the expiration date or proof the yeast by dissolving it in warm water to see if it bubbles. How Yeast Works in Bread. - 1 ¼ cups warm water (around 110°F/43°C)
Water is crucial to activate the yeast and bring the dough together. The temperature should be warm, but not hot—think of it as a cozy bath for the yeast. Too hot, and you might kill it; too cold, and it won’t activate properly. Aim for that perfect “baby bottle” warmth. - 1 tablespoon olive oil (optional)
While this ingredient is optional, it can add a nice richness to the bread. Olive oil helps keep the bread soft and adds a touch of flavor. If you prefer a more traditional French bread taste, you can skip it.
These simple ingredients come together to create a loaf that’s crispy on the outside, soft on the inside, and full of that classic French bread flavor. Now that we have everything prepped and ready, we can dive into the next step—mixing and kneading the dough. But first, make sure you’ve got all your ingredients laid out and measured—this will make the process smoother and more enjoyable!
Step-by-Step Guide to Baking French Bread
Now that you’ve gathered your ingredients, let’s walk through the simple steps to create a beautiful loaf of French bread. Don’t worry, I’ll guide you through each part—think of it like a fun baking session with a friend!
Step 1: Activate the Yeast
The first step is key to getting that lovely rise in your bread. Here’s how you do it:
- In a small bowl, combine 1 ¼ cups warm water (around 110°F/43°C) with the packet of yeast.
- Stir it gently and let it sit for 5-10 minutes. You should see some bubbles form on the surface. This means the yeast is active and ready to work its magic!
Pro Tip: If you don’t see bubbles or froth after 10 minutes, your yeast may be old or the water might have been too hot or too cold. Don’t worry; just start over with fresh yeast and properly heated water.
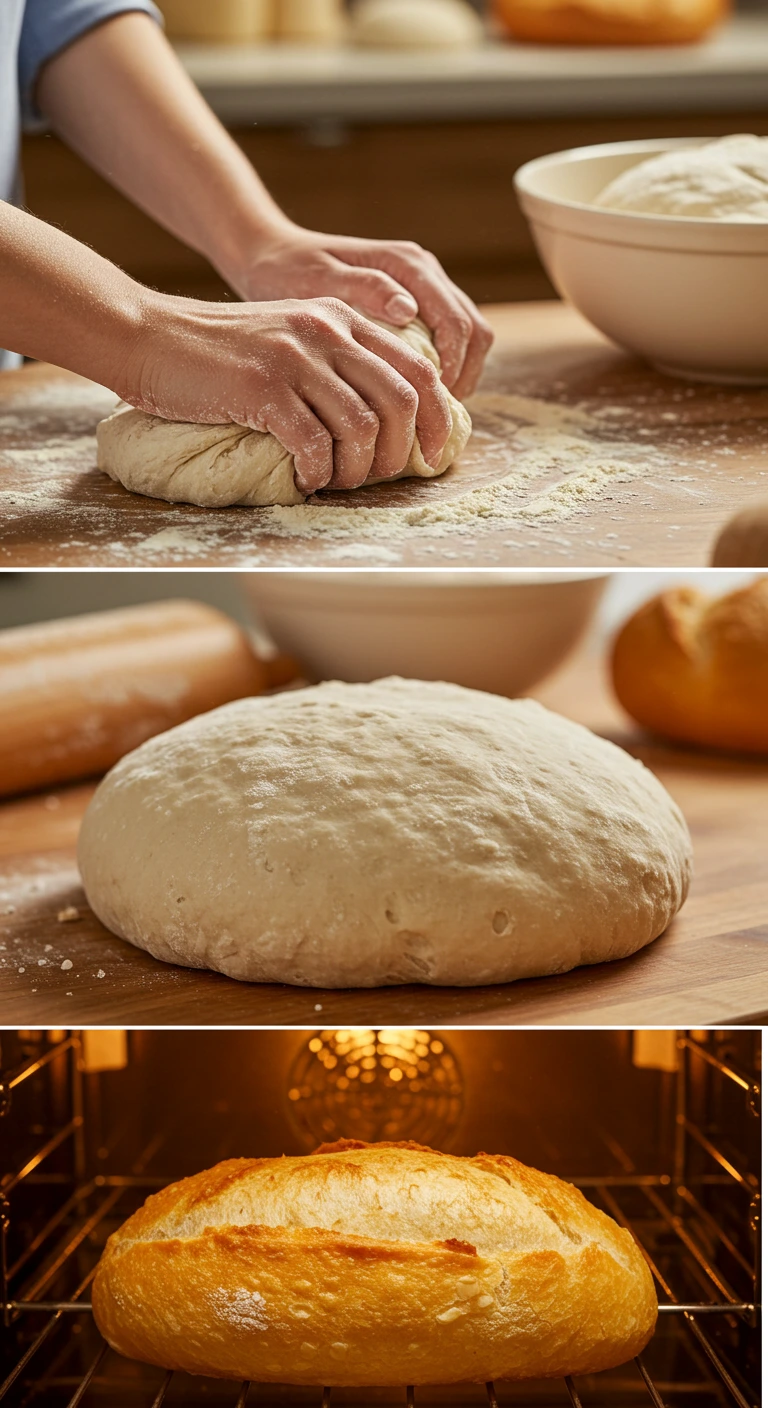
Step 2: Mix and Knead the Dough
Now comes the fun part—mixing and kneading! You’ll watch the dough come together right before your eyes.
- In a large mixing bowl, combine 3 cups of flour and 1 ½ teaspoons salt.
- Pour in the activated yeast mixture and stir with a spoon until the dough starts to form.
- Transfer the dough to a floured surface and begin kneading. Use the heels of your hands to push the dough away from you, fold it over, and repeat.
- Knead for about 8-10 minutes until the dough is smooth and elastic. When you poke it gently with your finger, the dough should spring back.
Pro Tip: If the dough feels sticky, add a little more flour—just be careful not to add too much, or you’ll end up with a dry loaf. The dough should feel soft and slightly tacky.
Step 3: Let the Dough Rise
Now that your dough is nice and smooth, it’s time to let it rise. This is where the yeast does its thing and creates that airy texture.
- Lightly oil a large bowl and place the dough inside. Cover it with a damp cloth or plastic wrap.
- Let the dough rise in a warm place for about 1 to 1 ½ hours, or until it has doubled in size.
Pro Tip: If your kitchen is cold, you can let the dough rise in a slightly warm oven (turn the oven on for a minute and then turn it off before placing the dough inside). It’ll give the dough the cozy warmth it needs to rise beautifully.
Step 4: Shape the Dough
Once your dough has risen to perfection, it’s time to shape it. You can choose the classic baguette shape or a round loaf—whichever you prefer!
- Punch down the dough to release the air, then transfer it to a floured surface.
- Gently shape the dough into a log or a round ball, depending on your preference.
- If you’re making a baguette, fold the edges over to create a tapered shape. For a round loaf, simply pinch the edges together to form a smooth ball.
- Place the shaped dough on a baking sheet lined with parchment paper or a floured baking stone.
Pro Tip: To create the classic French bread look, use a sharp knife to score the top of the dough in a few diagonal lines. This allows the bread to expand evenly while baking and adds a rustic, bakery-style touch.
Step 5: Second Rise
Now that your dough is shaped, let it rise once more.
- Cover the dough with a damp cloth and let it rise for another 30-45 minutes, or until it has puffed up again.
Pro Tip: This second rise is crucial for the texture of the bread, so don’t rush it. Let the dough rise until it’s nice and airy—this will give you that perfect soft, chewy interior.
Step 6: Bake the Bread
Finally, it’s time to bake! Preheat your oven and get ready to watch the magic happen.
- Preheat your oven to 475°F (245°C). If you have a baking stone, place it in the oven while it’s heating.
- Just before placing the dough in the oven, pour a small amount of water into a shallow pan and place it on the bottom rack. This creates steam, which helps form a crispy, golden crust.
- Bake the bread for 25-30 minutes or until the loaf is golden brown and sounds hollow when tapped on the bottom.
- Let the bread cool on a wire rack before slicing.
Pro Tip: If you want an even crispier crust, you can brush the top of the dough with water before baking. This gives the crust that extra shine and crunch.
Now that your bread is baked to perfection, it’s time to enjoy the fruits of your labor! You’ve mastered French bread in just six steps, and I bet it smells as good as it tastes. Ready for the next step? Let’s move on to some pro tips and variations!
Expert Tips & Fun Variations for Your French Bread
Now that you’ve made your beautiful loaf of French bread, it’s time to take it to the next level with some pro tips and exciting variations! Whether you’re a seasoned baker or just starting out, these extra touches will help elevate your bread game. Let’s dive in!
Pro Tips for Perfect French Bread
- Use a Baking Stone for a Crispy Crust
If you have a baking stone, now’s the time to use it. A baking stone helps create an even heat distribution, which results in a crispier, more professional-looking crust. Simply preheat the stone along with your oven to 475°F (245°C), and bake the dough directly on it. - Create Steam for a Golden Crust
One of the secrets to achieving that perfect French bread texture is steam. Place a shallow pan of water at the bottom of your oven while baking. This will help the bread develop that beautiful golden-brown crust and give it that iconic crunch. - Don’t Skip the Second Rise
The second rise is essential for achieving the soft, airy crumb inside your bread. While it might be tempting to rush this step, give the dough the time it needs to puff up. This will ensure your bread has that light and chewy texture that makes French bread so irresistible. - Score Your Dough for a Professional Look
Scoring the top of your bread not only adds a decorative touch but also helps the dough expand evenly as it bakes. Use a sharp knife or a bread lame to make shallow cuts on the surface of the dough before baking.
Variations to Try
Once you’ve mastered the basic French bread recipe, feel free to experiment with these delicious variations:
- Herb-Infused French Bread
For an aromatic twist, try adding fresh herbs like rosemary, thyme, or basil to your dough. Simply chop the herbs finely and knead them into the dough during the mixing phase. The result? A fragrant, savory loaf perfect for pairing with soups or salads. - Whole Wheat French Bread
Want a heartier version of this classic recipe? Swap out half of the all-purpose flour with whole wheat flour. This gives the bread a slightly nutty flavor and makes it a bit more rustic in texture. - Garlic and Cheese French Bread
For a cheesy, savory version, knead grated Parmesan, garlic powder, or even shredded mozzarella into your dough. Alternatively, you can add the cheese and garlic on top after shaping the dough for a cheesy crust that’s sure to wow. - Sweet French Bread
If you’re in the mood for something a little sweeter, add a tablespoon of honey or sugar to the dough. This adds a touch of sweetness without overpowering the traditional French bread flavor. You can even drizzle the finished loaf with honey or sprinkle some cinnamon sugar for an extra sweet treat.
Troubleshooting Tips
Even experienced bakers run into challenges sometimes! Here are a few troubleshooting tips to keep your French bread on track:
- Bread Not Rising?
If your dough isn’t rising as expected, make sure your yeast is fresh. Warm water is key to activating the yeast—too hot, and it’ll kill the yeast; too cold, and it won’t activate. Also, check that the dough is in a warm, draft-free place for the rise. - Dough Too Sticky?
If the dough feels too sticky during kneading, sprinkle in a little extra flour, but don’t go overboard. A slightly tacky dough will result in a softer crumb. If you add too much flour, your bread may turn out dense. - Bread Overbaked?
If you find your bread has become too dark or crunchy, it’s likely been in the oven for too long. Every oven is different, so keep an eye on it in the last 5 minutes of baking. You’ll know it’s done when the loaf sounds hollow when tapped on the bottom.
With these tips and variations, you’re well on your way to creating not just a classic French bread, but one that’s uniquely your own. Don’t be afraid to get creative and try out new flavors—bread baking is an art, and you’re the artist! Ready for some serving ideas? Let’s move on to that next.
Delicious Ways to Serve Your Freshly Baked French Bread
Now that your French bread is perfectly baked and ready to go, the real fun begins—deciding how to serve it! This classic loaf is incredibly versatile and can be paired with a variety of dishes, making it the star of any meal. Here are some tasty serving suggestions to help you make the most of your freshly baked bread:
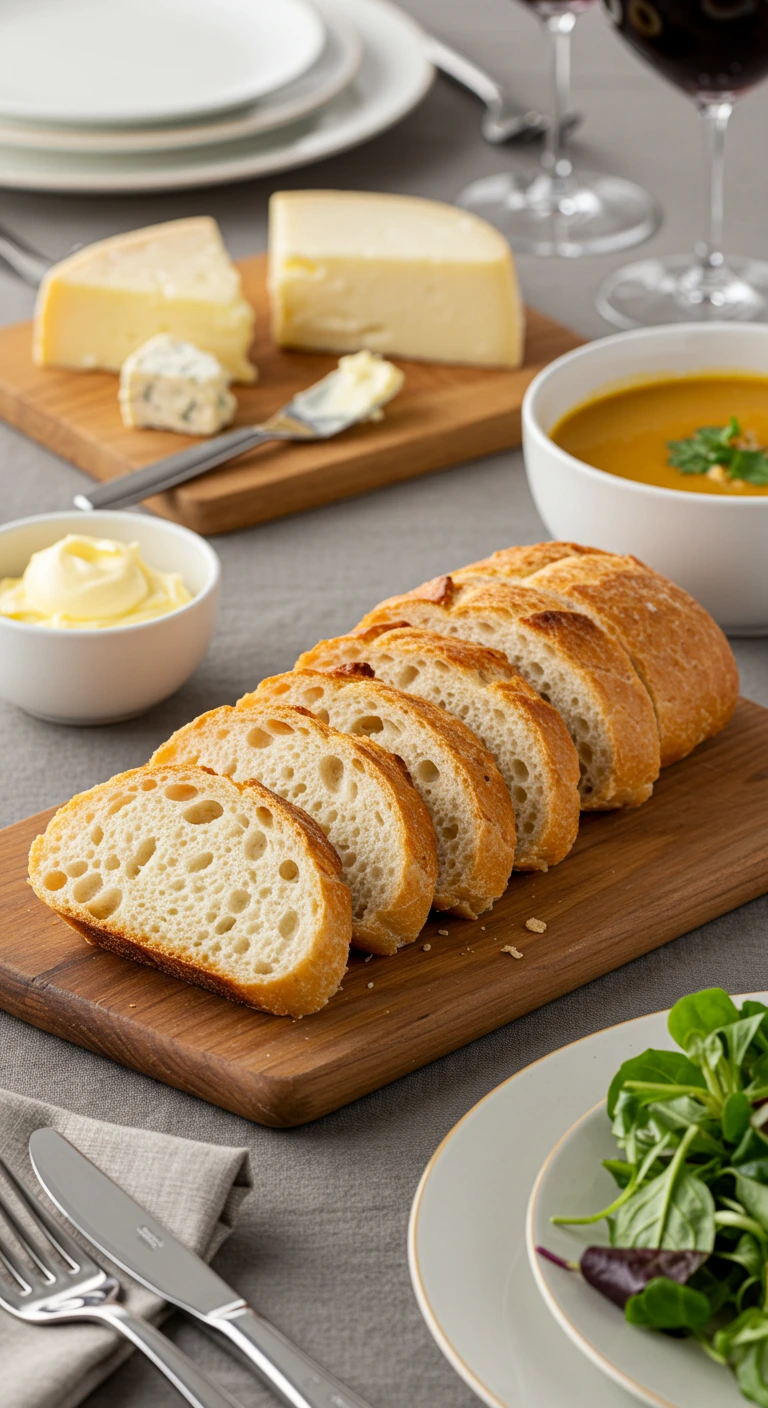
1. Classic French Bread with Butter
Sometimes, the simplest things are the best. A warm slice of freshly baked French bread, spread with creamy butter, is a perfect snack or side dish. The rich, salty butter pairs beautifully with the light, airy texture of the bread, making for a comforting bite.
Pro Tip: For a little extra flavor, try using herb-infused butter or adding a pinch of sea salt on top.
2. French Bread with Soup or Salad
French bread is an ideal companion for a hearty bowl of soup or a crisp salad. Its crispy crust and soft interior are perfect for dipping into your favorite soups—whether it’s a classic French onion soup or a creamy tomato bisque. Or, slice it up and serve it alongside a fresh salad for a satisfying, balanced meal.
Pairing Ideas:
- Tomato soup with a slice of warm French bread
- French onion soup with a cheesy, garlic-topped bread slice
- Fresh green salad with a side of crusty bread for sopping up dressing
3. Make the Perfect Sandwich
Use your homemade French bread to create the ultimate sandwich. Whether you go for a simple ham and cheese or a more elaborate creation, French bread makes the perfect base for all your favorite fillings. The airy, chewy texture holds up well to hearty ingredients, while the crispy crust adds a satisfying crunch.
Suggestions:
- Turkey and Swiss with a dollop of mustard
- Grilled vegetables with hummus and feta
- Classic BLT with crispy bacon, lettuce, and tomato
4. French Bread with Cheese and Charcuterie
French bread and cheese are a match made in heaven. Serve it on a cheese board with a selection of your favorite cheeses—think Brie, Camembert, or sharp cheddar. Add some charcuterie, like prosciutto or salami, and you’ve got an elegant and delicious appetizer or light meal. This is the perfect way to impress guests or treat yourself to a casual yet indulgent meal.
Pro Tip: For a truly French experience, drizzle a bit of honey on the bread before pairing it with cheese for a sweet contrast.
5. French Bread Toast
If you happen to have some leftover French bread, don’t let it go to waste! Slice it up and turn it into crispy, golden French toast for breakfast or brunch. Top it with fresh fruit, syrup, or a dusting of powdered sugar for a sweet twist on the classic recipe.
Pro Tip: For savory French toast, try topping it with a fried egg, avocado, and a sprinkle of sea salt.
6. French Bread with Olive Oil and Balsamic Vinegar
For a quick and delicious appetizer, slice your French bread and dip it in a mixture of high-quality olive oil and balsamic vinegar. The bread soaks up the oil and vinegar, creating a flavorful bite that’s perfect for entertaining or enjoying as a snack. You can also add a little garlic or herbs to the oil for extra flavor.
With these serving ideas, your French bread can be a delicious addition to any meal or a delightful stand-alone snack. Its versatility will have you coming back to this recipe again and again, whether you’re feeding a crowd or treating yourself to a cozy meal. Let’s move on to the next section and answer some frequently asked questions about making the perfect French bread!
More Delicious Baking Recipes:
- Crusty Italian Bread Recipe: How To Make It At Home
- Vegan Bread Recipe: The Ultimate Comfort Food You’ll Love
- Hawaiian Banana Bread Recipe: Irresistibly Delicious!
Well done! You’ve just made a classic loaf of French bread. From kneading to baking, you’ve created a golden, crispy loaf with a soft, airy interior—perfect for any meal. This simple recipe offers endless possibilities, whether you pair it with soup, make sandwiches, or enjoy it with butter.
Keep experimenting and personalizing this bread to suit your taste. The more you bake, the better it gets, and before you know it, this French bread will become a staple in your kitchen. Happy baking!
Have You Tried Our Recipe?
There are no reviews yet. Be the first one to write one.