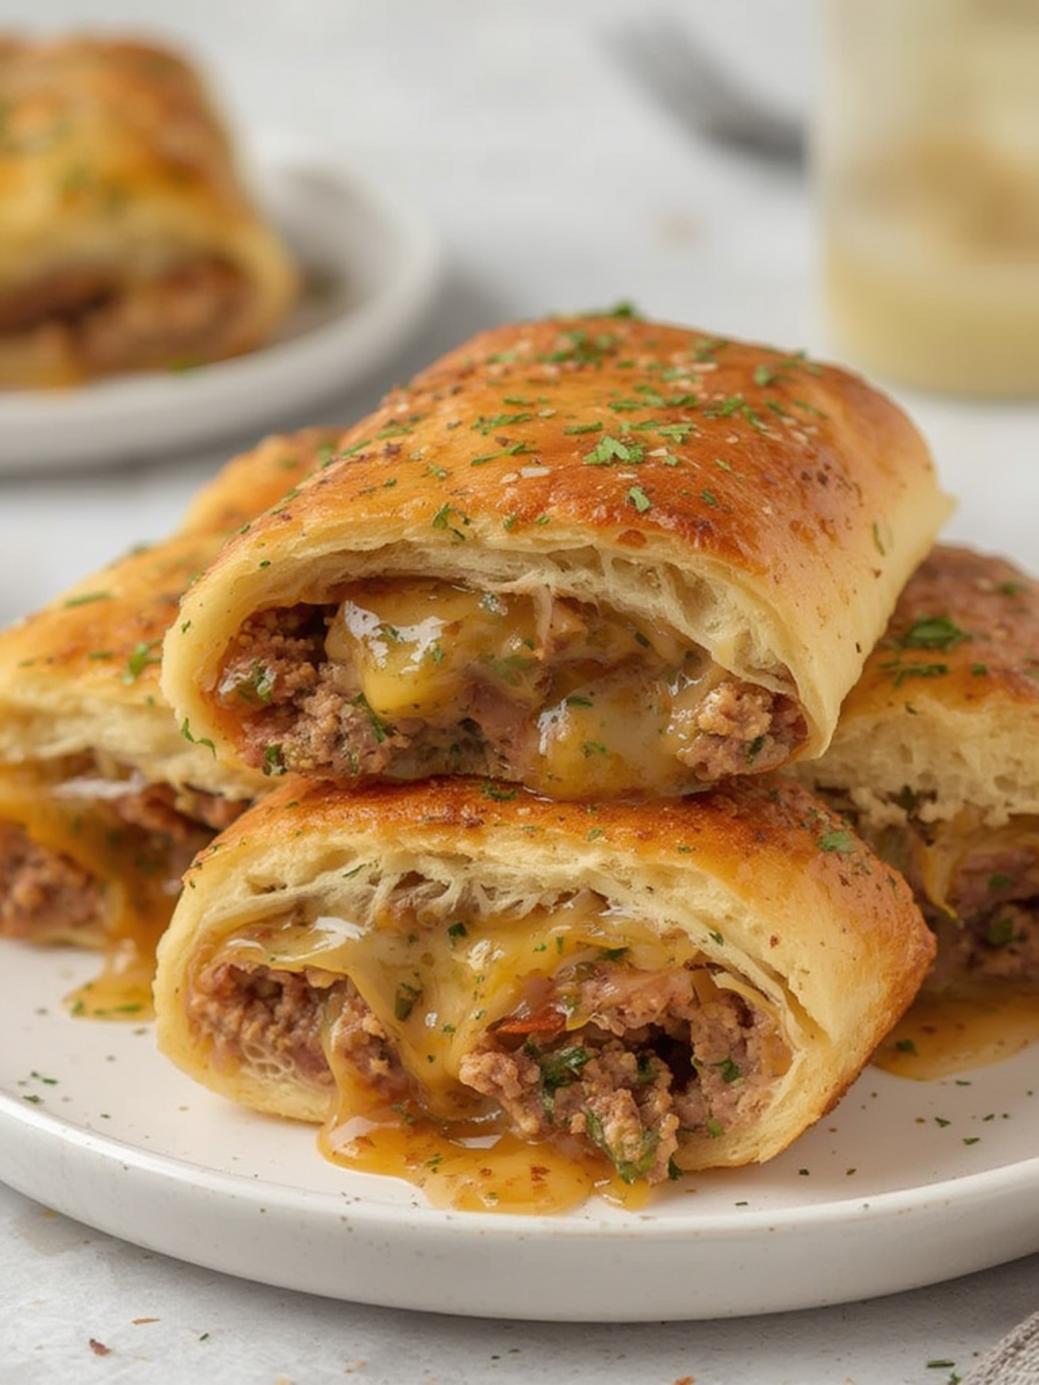
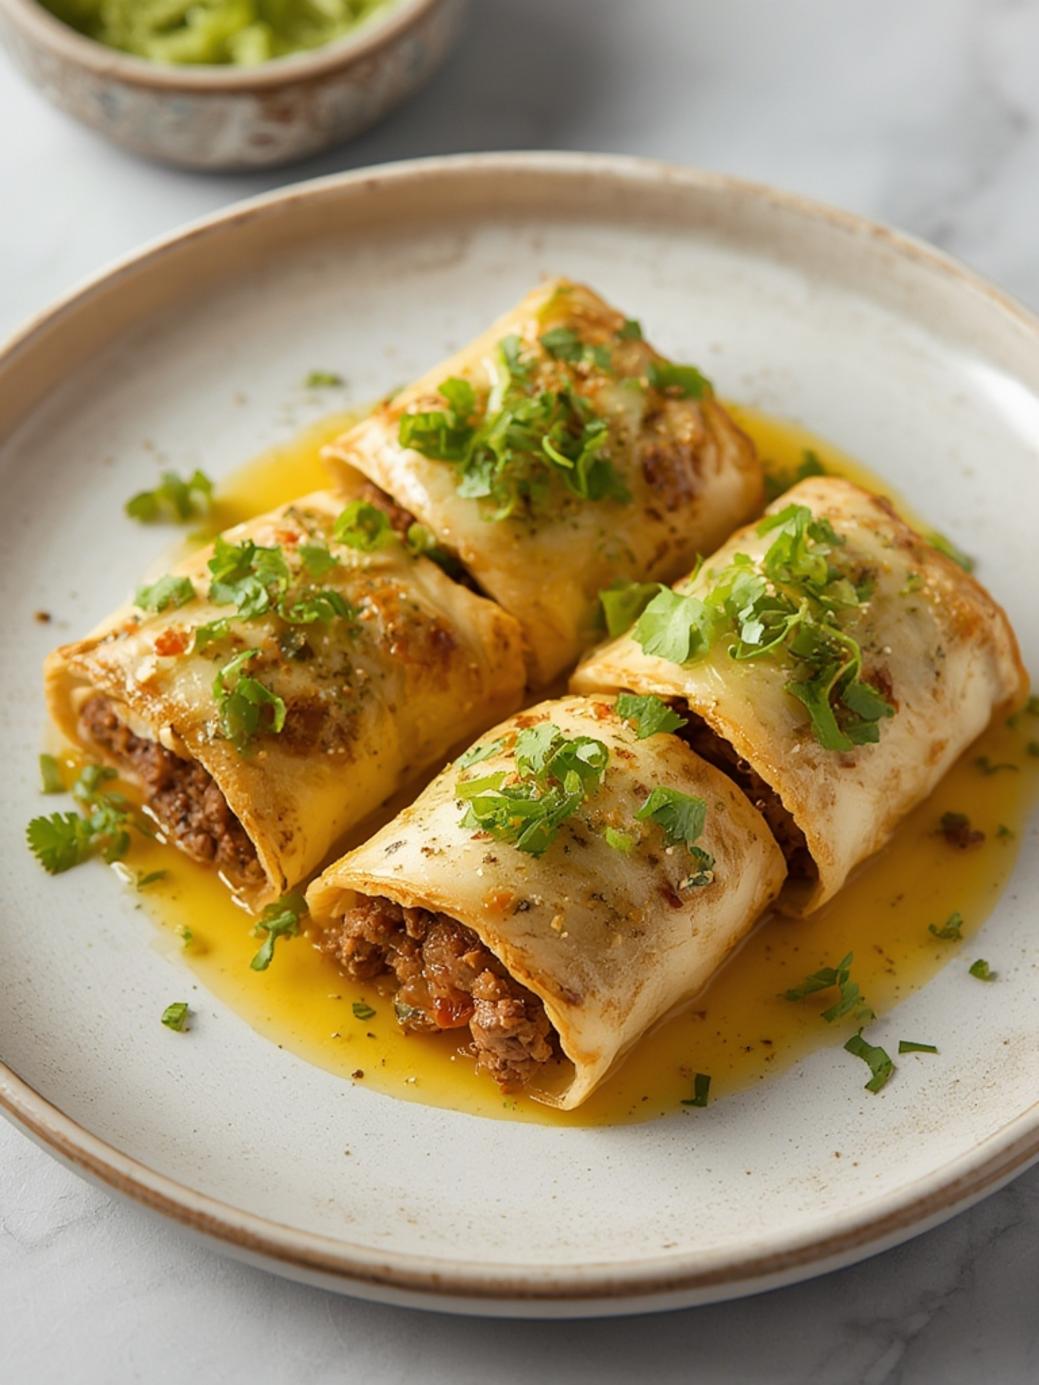
There’s nothing quite like the sizzle of beef hitting a hot pan, especially when it’s destined to become something as mouthwatering as Garlic Butter Beef Cheeseburger Rollups. This innovative dish transforms traditional burger ingredients into a rolled masterpiece that’s both visually impressive and incredibly delicious. If you’ve ever made Cheesy Beef Rollups before, you’ll find this recipe takes that concept to new heights with the addition of rich garlic butter and classic cheeseburger flavors. Perfect for family dinners or entertaining guests, these rollups combine the comfort of a cheeseburger with an elegant presentation that’s sure to impress.
Ingredients & Kitchen Tools for Garlic Butter Beef Cheeseburger Rollups
For the Beef Rollups:
– 1½ pounds thinly sliced beef (sirloin or flank steak work best)
– 8 slices American or cheddar cheese
– 1 medium onion, finely diced
– 1 cup diced pickles
– ¼ cup ketchup
– 2 tablespoons mustard
– ½ teaspoon salt
– ½ teaspoon black pepper
– 2 tablespoons olive oil
For the Garlic Butter:
– 6 tablespoons unsalted butter, softened
– 4 cloves garlic, minced
– 2 tablespoons fresh parsley, chopped
– ½ teaspoon salt
– ¼ teaspoon black pepper
Kitchen Tools:
– Meat mallet (if beef slices need thinning)
– Cutting board
– Sharp knife
– Measuring cups and spoons
– Mixing bowls
– Toothpicks or kitchen twine
– Large skillet or grill pan
– Tongs
– Aluminum foil
Prep & Cooking Time for a Perfect Garlic Butter Beef Cheeseburger Rollups Dish
– Prep Time: 20 minutes
– Cooking Time: 15 minutes
– Total Time: 35 minutes
– Servings: 4 (2 rollups per person)
Step-by-Step Instructions to Make Garlic Butter Beef Cheeseburger Rollups Easily

1. Prepare the meat: If your beef slices are too thick, place them between plastic wrap and gently pound with a meat mallet until about ¼-inch thick. Season both sides with salt and pepper.
2. Make garlic butter: In a small bowl, combine softened butter, minced garlic, chopped parsley, salt, and pepper. Mix thoroughly and set aside.
3. Assemble rollups: Lay beef slices flat on a work surface. Spread a thin layer of ketchup and mustard on each slice. Place a piece of cheese on top, followed by sprinkled diced onions and pickles.
4. Roll and secure: Starting from one end, tightly roll up each slice of beef, securing with toothpicks or kitchen twine. The Garlic Butter Beef Cheeseburger Rollups should be firmly packed to hold their shape during cooking, just like when making traditional Cheesy Beef Rollups.
5. Cook the rollups: Heat olive oil in a large skillet over medium-high heat. Add the beef rolls and cook for 2-3 minutes per side until browned all over and cooked to desired doneness.
6. Add garlic butter: Reduce heat to medium-low. Add the garlic butter to the pan and let it melt, spooning it over the rollups continuously for 2-3 minutes until fragrant and thoroughly coated.
7. Rest and serve: Remove toothpicks or twine, let rest for 5 minutes, then slice into pinwheels if desired.
Nutritional Benefits of This Garlic Butter Beef Cheeseburger Rollups Recipe
These rollups provide an excellent source of protein from the beef, along with calcium from the cheese. The garlic offers immune-boosting properties and heart health benefits. While the dish is relatively high in protein, it’s also rich in fats, so portion control is recommended for a balanced diet.
Variations, Substitutions & Cooking Tips for Garlic Butter Beef Cheeseburger Rollups Lovers
– Cheese variations: Try pepper jack for spice, blue cheese for tang, or provolone for a milder flavor.
– Vegetable add-ins: Incorporate finely diced bell peppers or jalapeños for extra flavor and nutrition.
– Cooking methods: These can also be baked at 375°F for 15-20 minutes or grilled over medium heat.
– Low-carb option: Skip the ketchup and use a sugar-free alternative.
Common Mistakes to Avoid When Preparing Garlic Butter Beef Cheeseburger Rollups
1. Overstuffing the rollups: This can cause them to burst during cooking.
2. Cooking at too high heat: This results in burnt exteriors and raw interiors.
3. Not securing properly: Loose rolls will unravel during cooking.
4. Skipping the rest period: Cutting immediately causes juices to run out, resulting in dry meat.
Storage & Reheating Tips to Keep Your Garlic Butter Beef Cheeseburger Rollups Fresh
Store leftovers in an airtight container in the refrigerator for up to 3 days. For best reheating results, warm in a skillet over medium-low heat with a splash of water for 5-7 minutes, or microwave covered at 50% power with a damp paper towel.
Conclusion: Final Thoughts on Making Garlic Butter Beef Cheeseburger Rollups at Home
Mastering Garlic Butter Beef Cheeseburger Rollups brings the satisfaction of classic burgers to your table in an elevated form that’s perfect for any occasion. The combination of savory beef, melty cheese, and aromatic garlic butter creates an unforgettable dining experience that will have everyone asking for seconds. Whether you’re already familiar with Cheesy Beef Rollups or trying this technique for the first time, this recipe is sure to become a regular in your culinary repertoire.
FAQs About Cooking Garlic Butter Beef Cheeseburger Rollups
Q: Can I prepare these rollups ahead of time?
A: Yes! Assemble the rollups up to 24 hours in advance, cover tightly with plastic wrap, and refrigerate. Bring to room temperature for 30 minutes before cooking.
Q: What’s the best beef cut to use for these rollups?
A: Thinly sliced sirloin, flank steak, or ribeye work best as they offer good flavor and tenderness.
Q: How do I prevent the cheese from oozing out completely?
A: Don’t place the cheese too close to the edges, and ensure your rolls are tightly secured before cooking.
Q: Can I freeze these beef rollups?
A: Yes, you can freeze uncooked, assembled rollups for up to 3 months. Thaw completely in the refrigerator before cooking.
Q: What side dishes pair well with these rollups?
A: Try serving with a green salad, roasted potatoes, steamed vegetables, or a light pasta salad for a complete meal.
Have You Tried Our Recipe?
There are no reviews yet. Be the first one to write one.